Getting Started
Getting started & Lab access
Open dCloud
Step 1 - Access the Environment
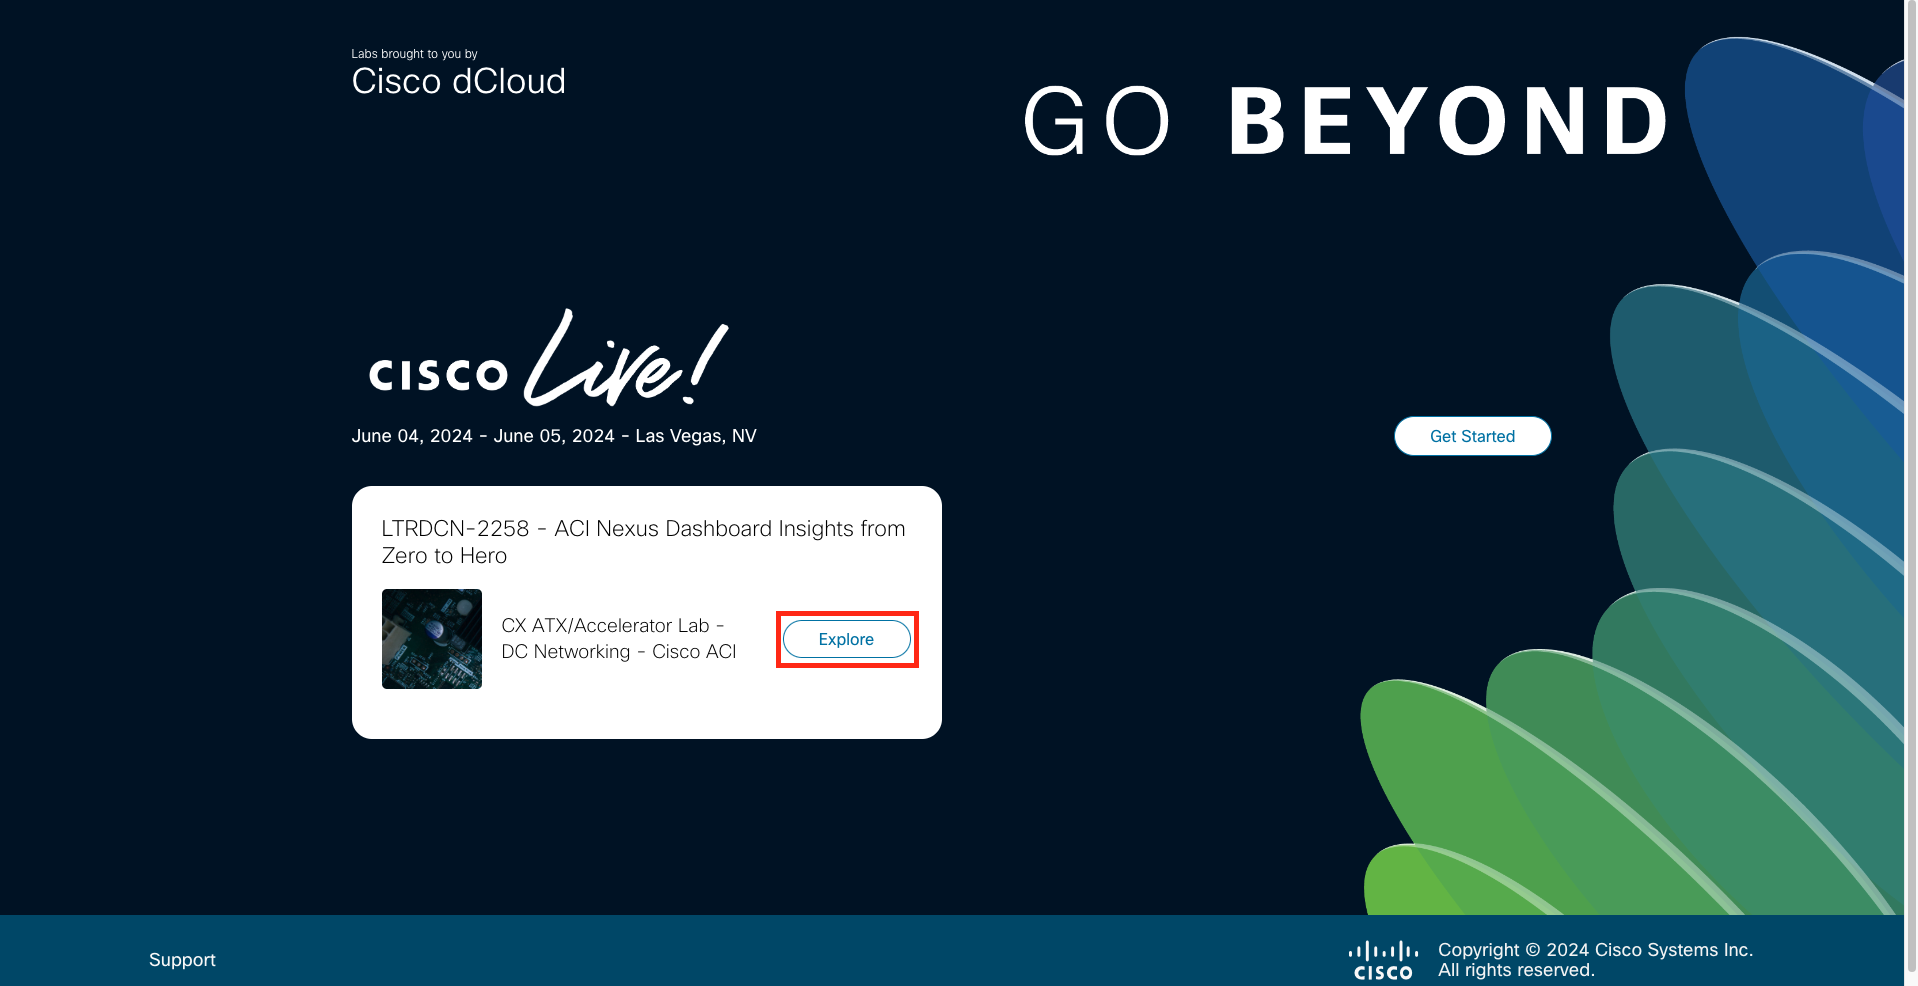
Use dCloud Expo to access our Cisco Live Lab by navigating to the following link: LTRDCN-2258.
Click "Explore" on the only item displayed, titled LTRDCN-2258 ACI Nexus Dashboard Insights from Zero to Hero.
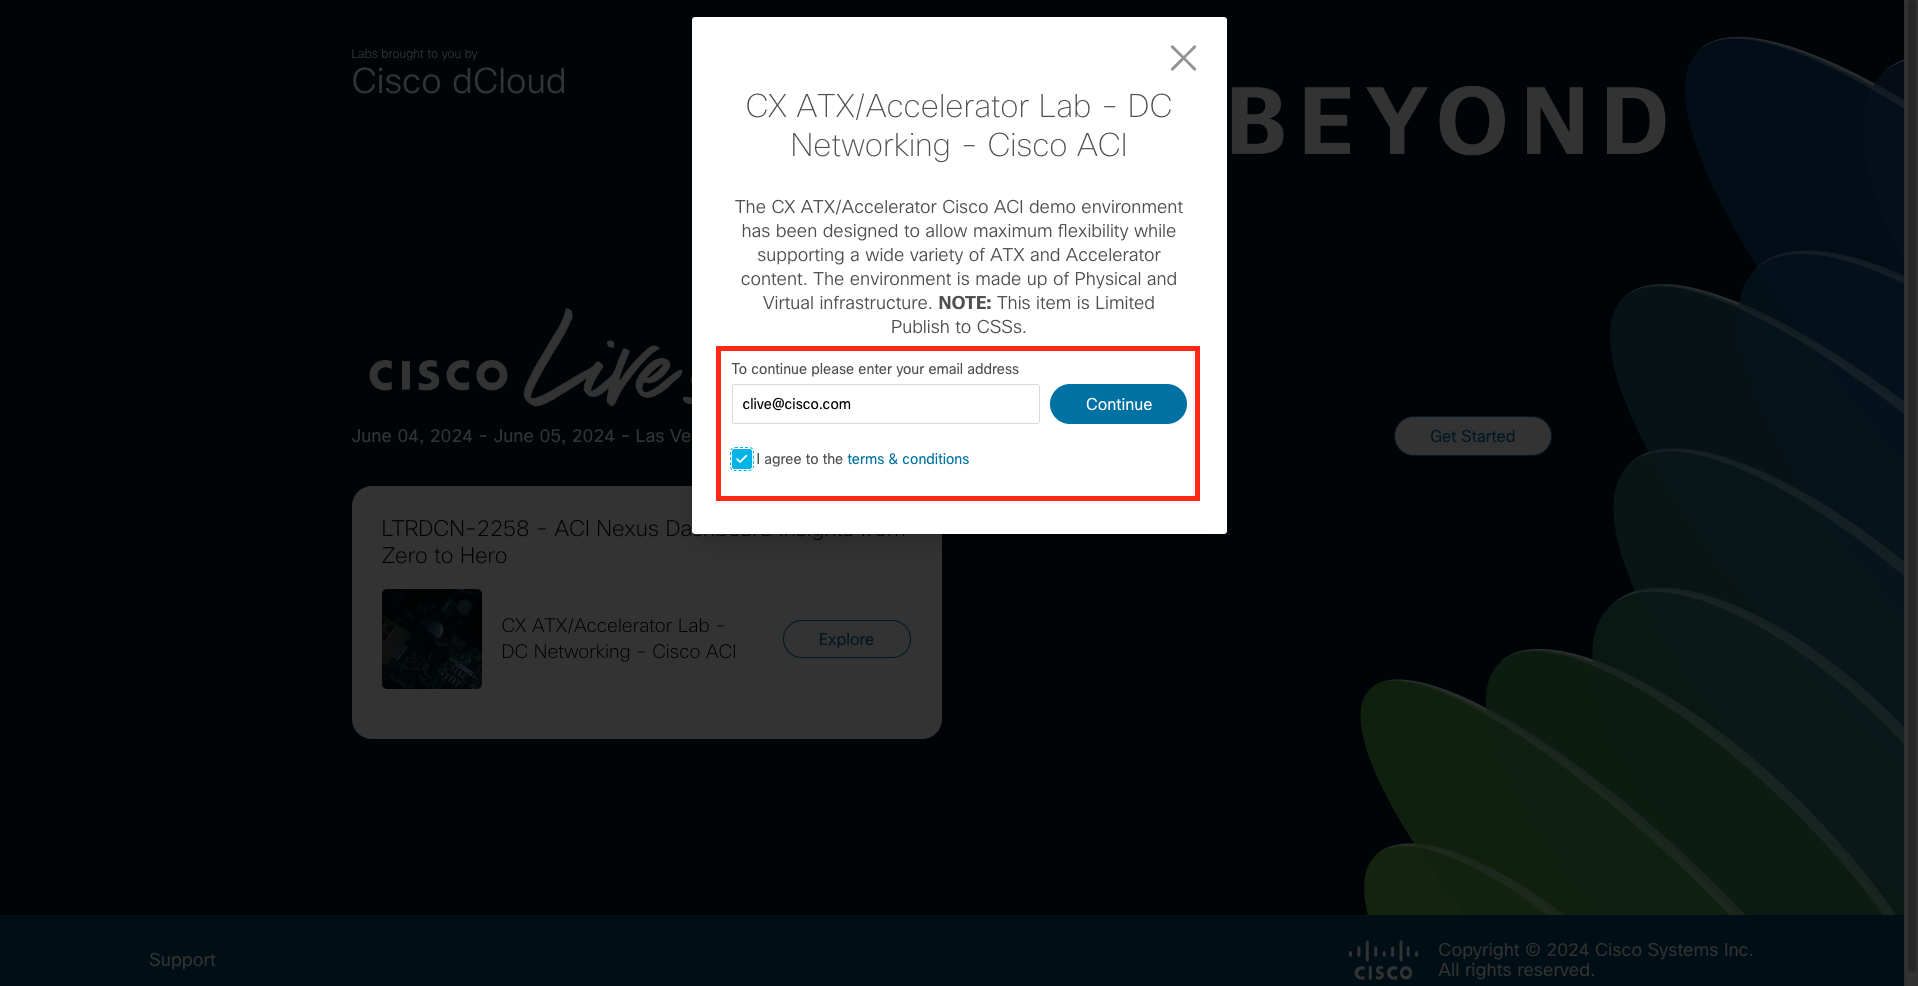
Enter the email address that you used to register for this event.
Review the terms and conditions carefully, and if you agree, accept them to continue.
Step 2 - Access the Jump Host
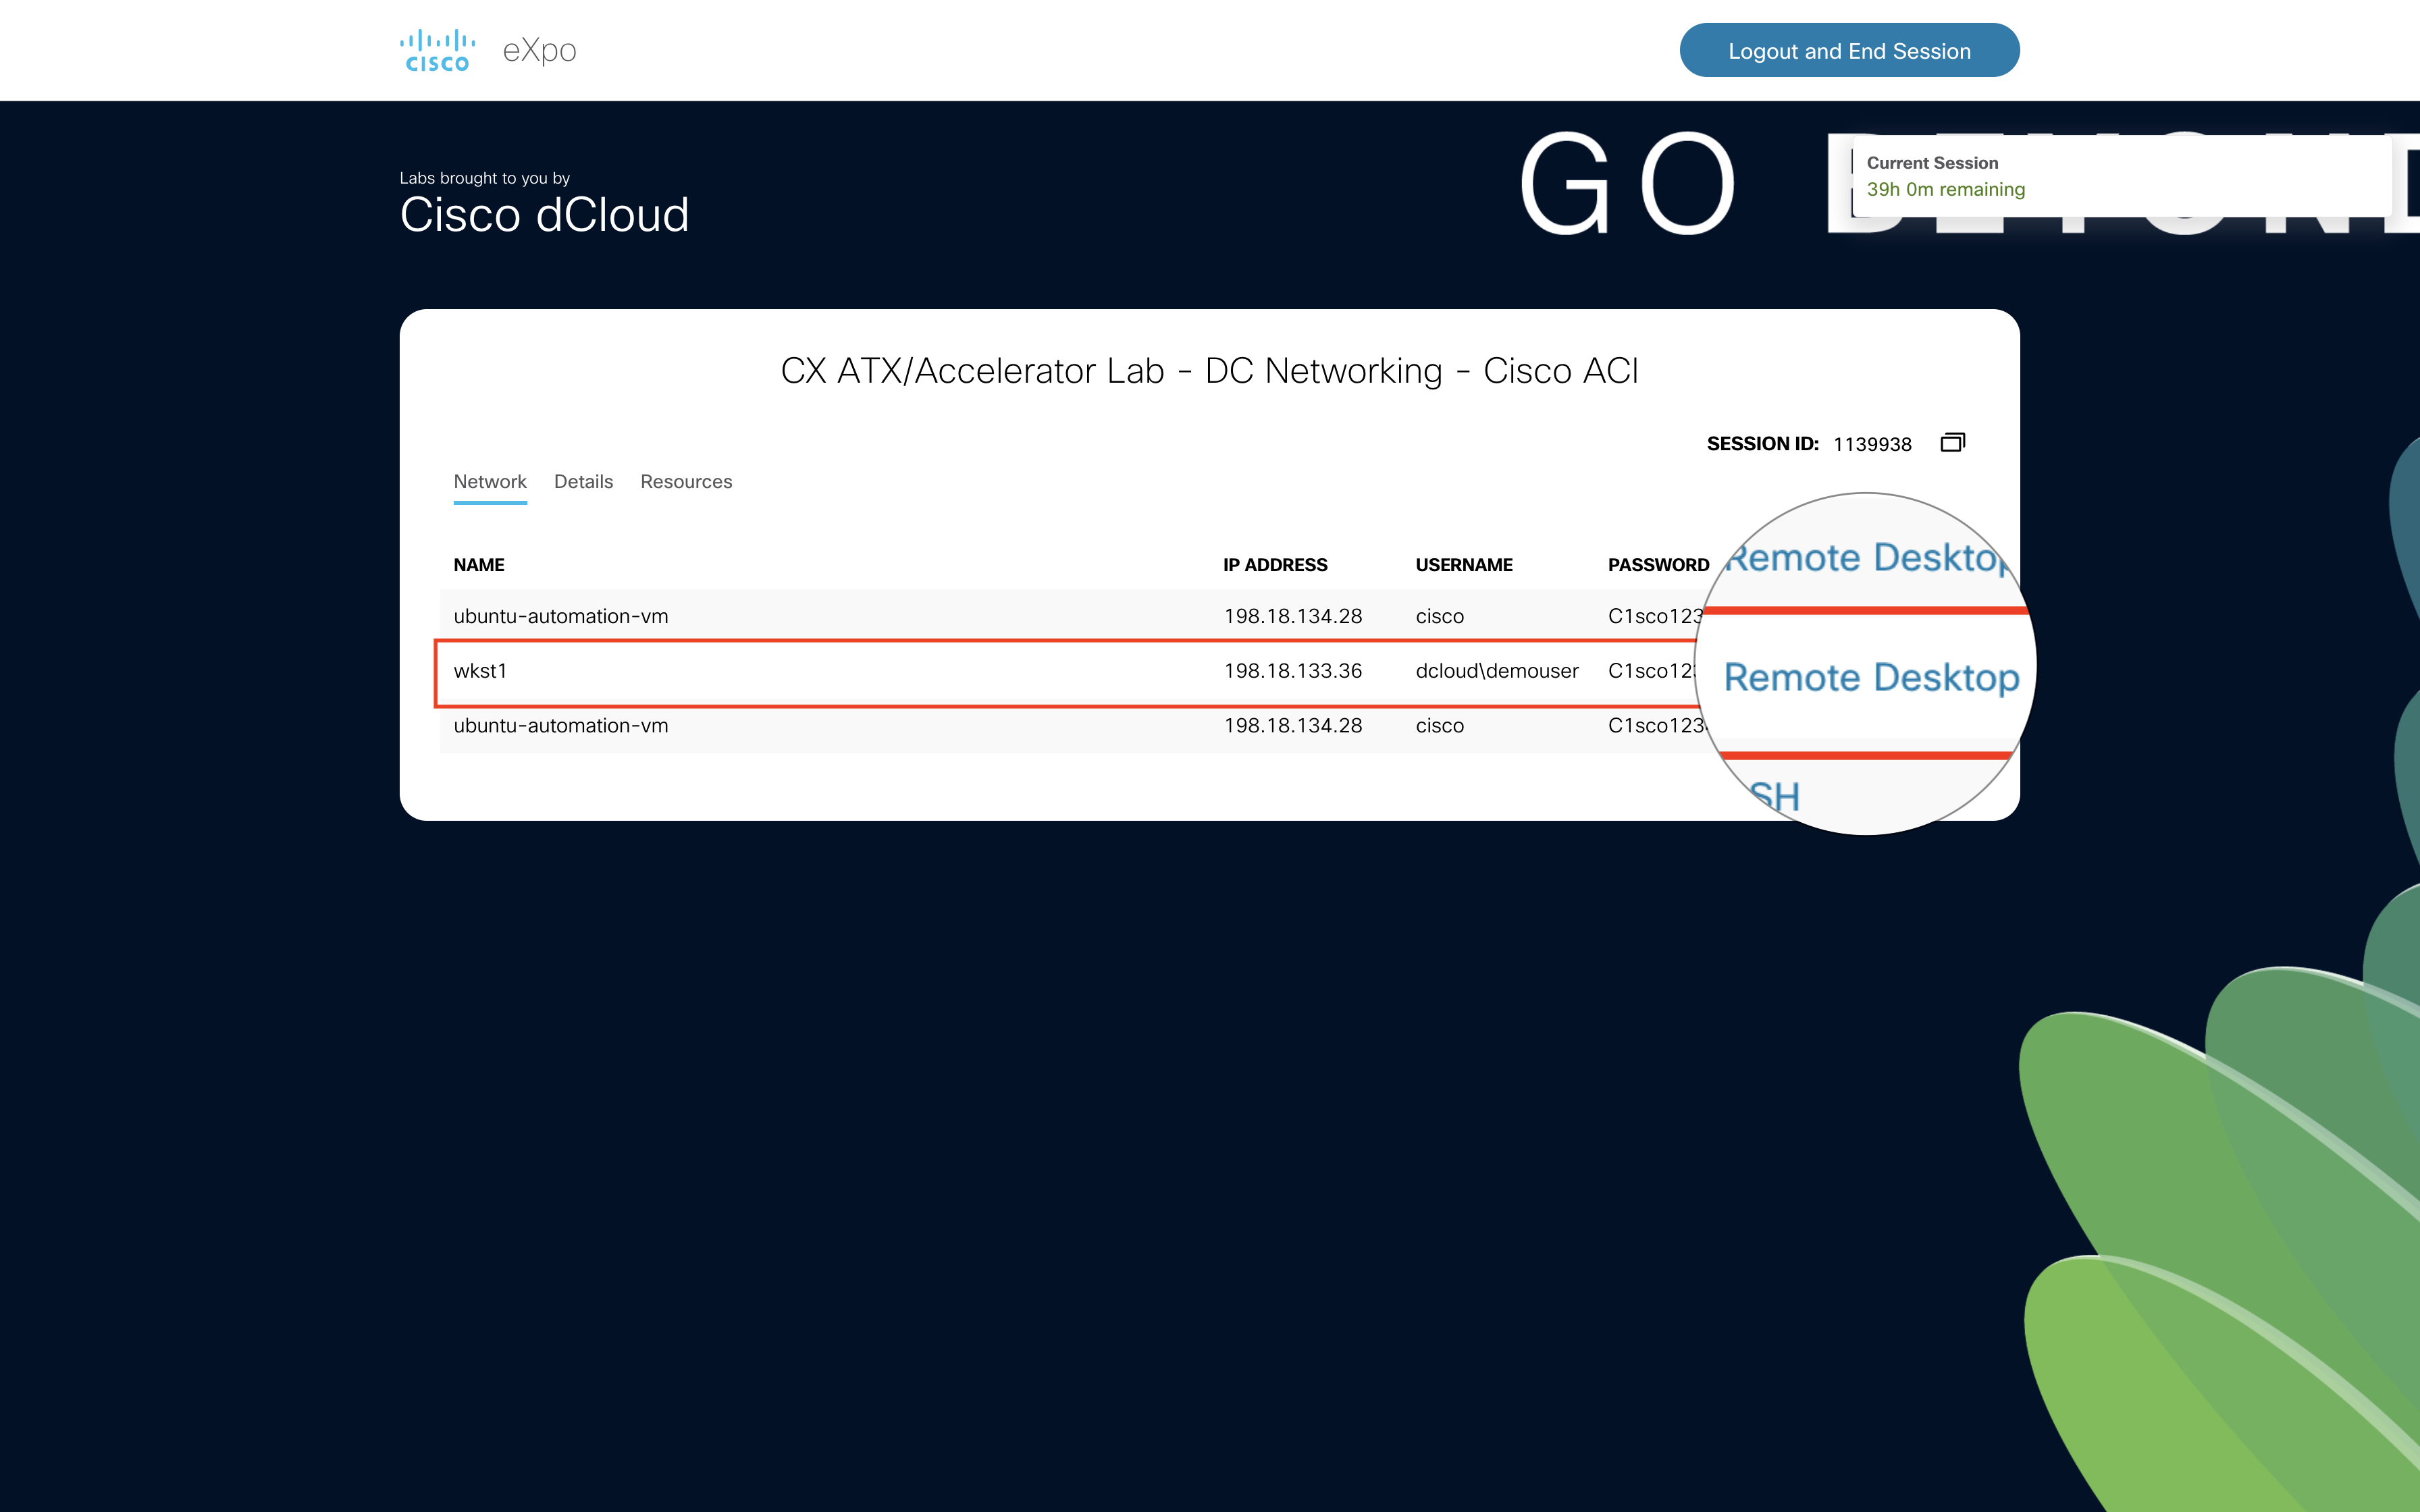
From the next screen, select "Remote Desktop," and a new pop-up window will open.
Step 3 - Open the Browser
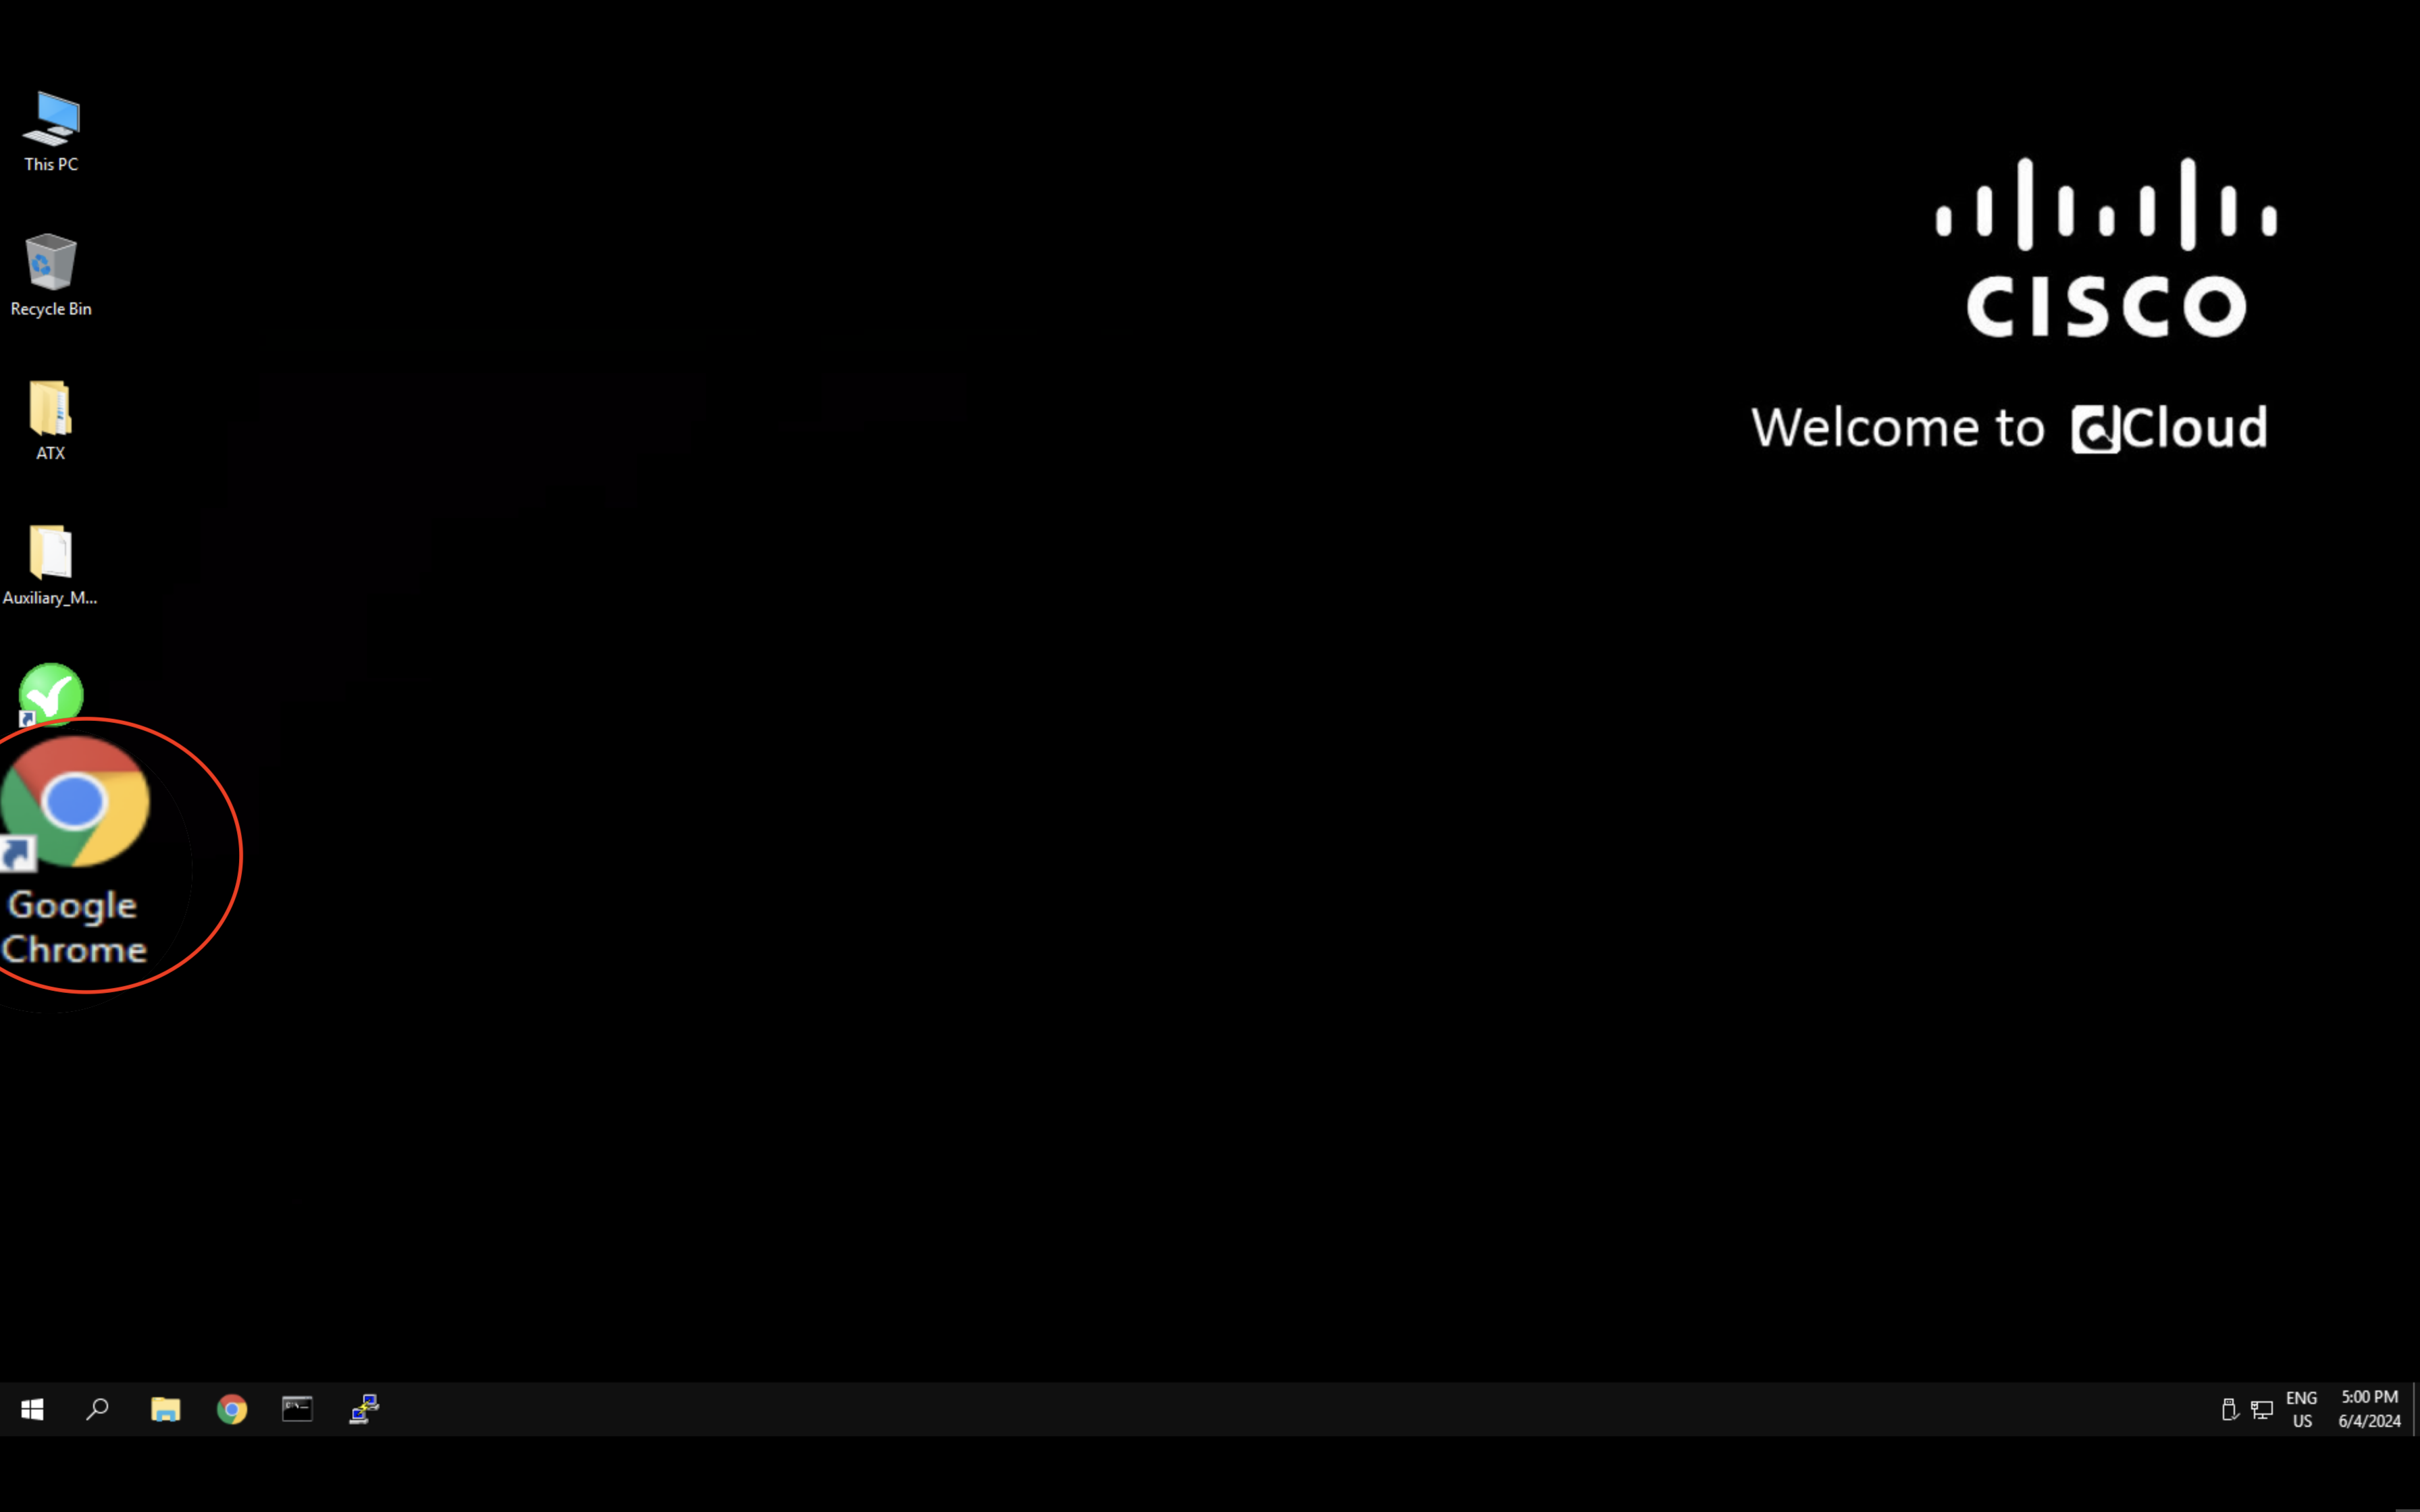
Now, from the Windows Desktop screen, select and open Google Chrome.
Authentication
In this lab, you will use LDAP for authentication to the Nexus Dashboard and ACI. The credentials provided below will remain consistent for every other access.
|
Table 1: Credentials (each pod access is unique)
| ND GUI | Username | Password | Login Domain |
|---|---|---|---|
| 198.19.202.11 | user-pod## | C1sco12345 | CLIVE |
Use the correct username
Replace the ## character with your actual pod number, for example: user-pod31. If your pod number is between 1 and 9 those numbers must be prepended by a 0
Info
We are using Cisco dCloud solely to manage access to a lab based on real hardware.
How to Log in to ND:
Step 1 - Access Nexus Dashboard Web UI
Open your web browser (Firefox or Google chrome) and go to page https://198.19.202.11.
With great power comes great responsibility
To provide you with the best possible lab experience, we are granting you admin-level access to the Nexus Dashboard. Please adhere strictly to the instructions detailed in each lab use case and read them carefully.
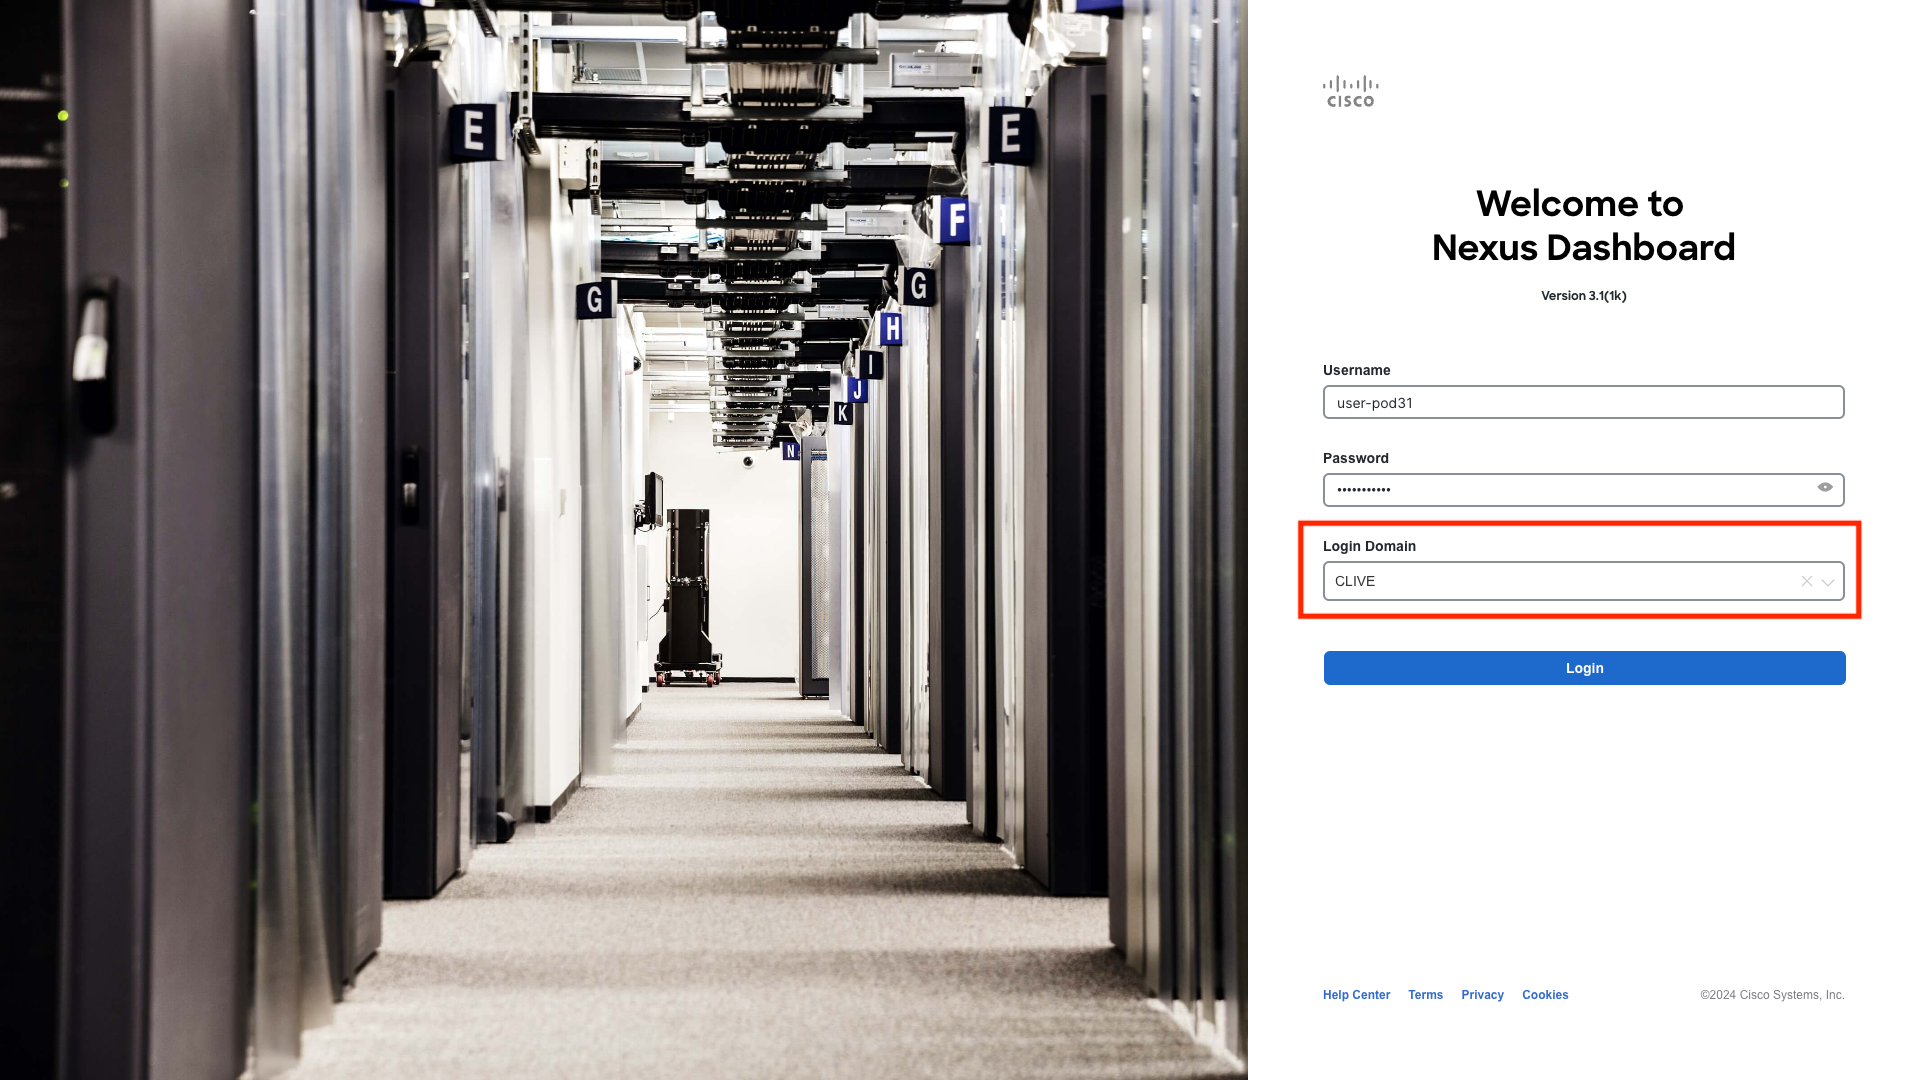
Step 2 - Authenticate in Nexus Dashboard
Log in using the username and password provided in Table 1. Ensure that you use only your designated pod number and the CLIVE login domain.
Step 3 - Review the popup
You should now see the main GUI of the Nexus Dashboard (ND). Review What's New and click on Let's Go to proceed.
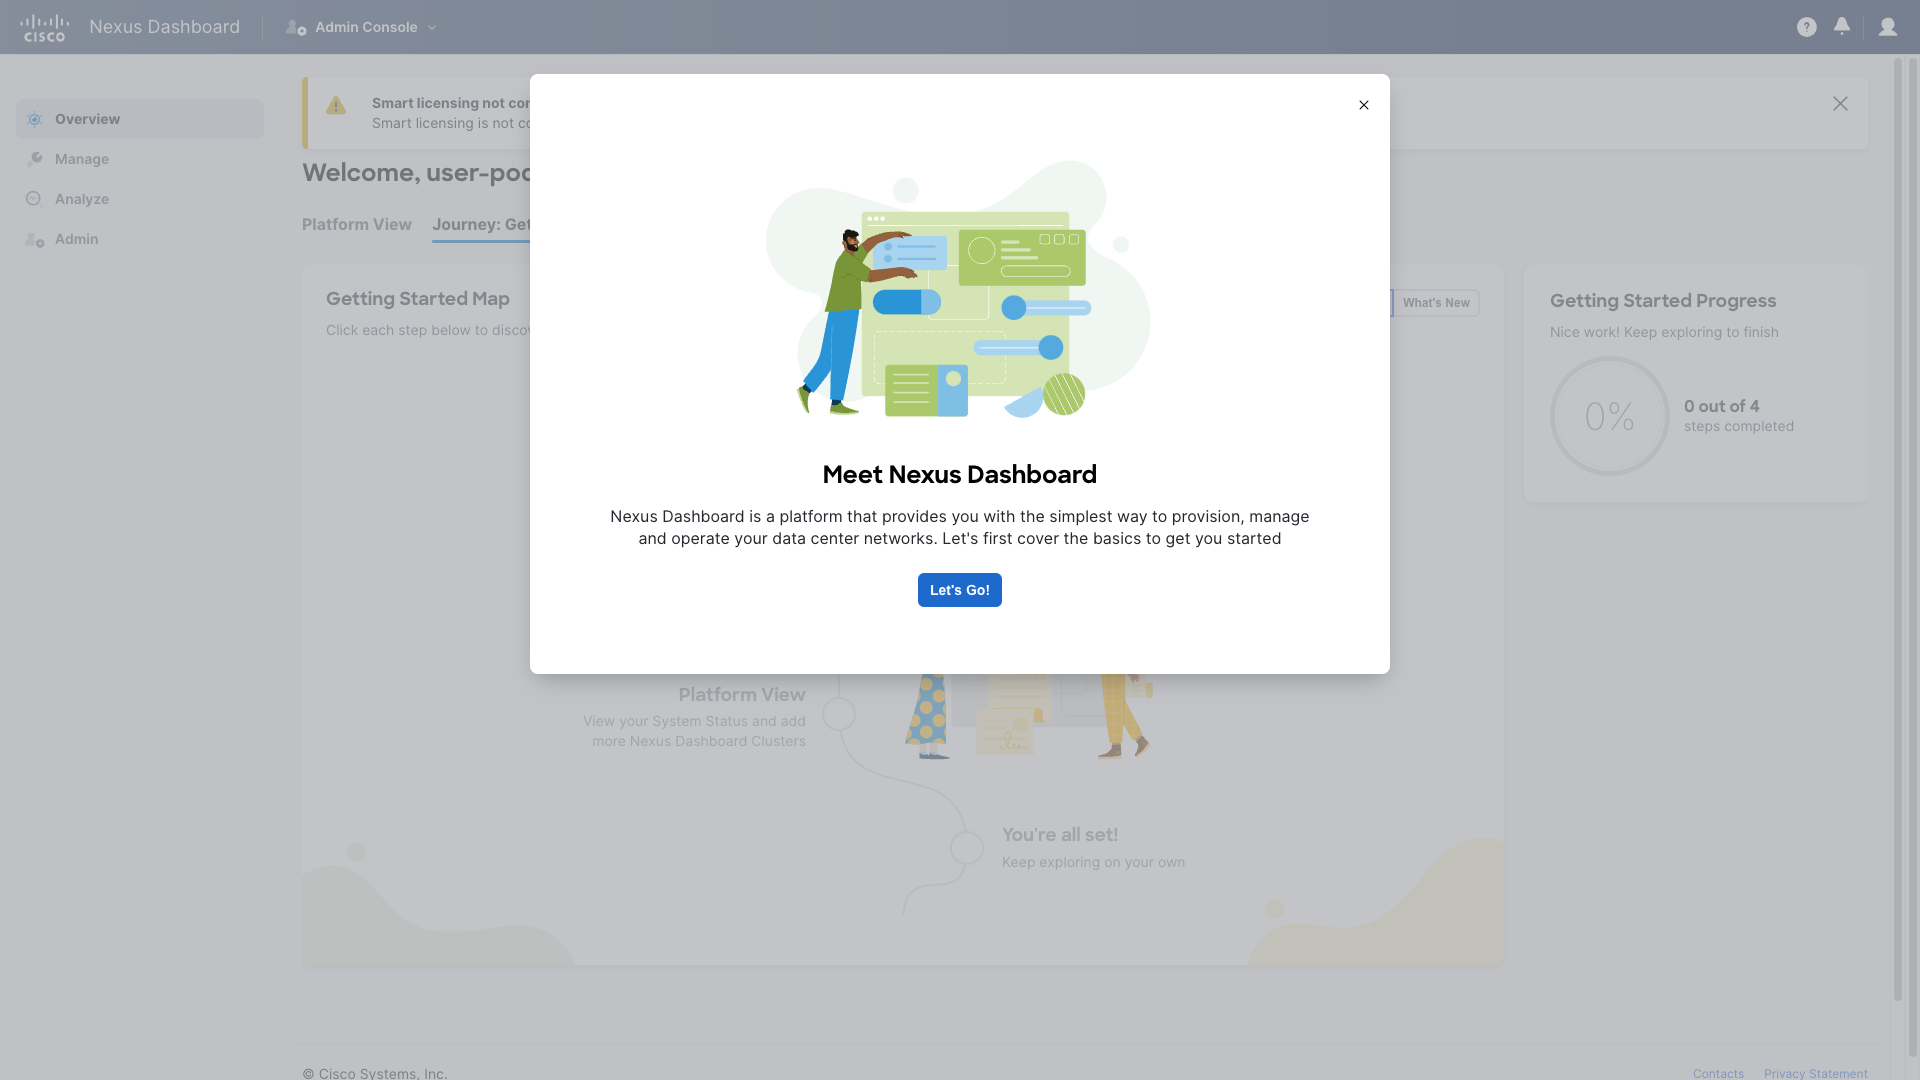
The Nexus Dashboard will introduce itself by highlighting the key features. You can get familiar by reading the few sections in the popup. Click on next to move to the following one, until you reach the last one. At that point click on Get Started
Step 4 - Nexus Dashboard Landing Page
You are now viewing the initial screen of the Nexus Dashboard Admin Console. Typically, the Journey Map is available to guide you through the initial setup and connection steps when first configuring Nexus Dashboard. However, rest assured that we have completed all the preliminary setup for you.
Note
If you get a warning popup for "Smart licensing not configured" feel free to close it by clicking on the X.

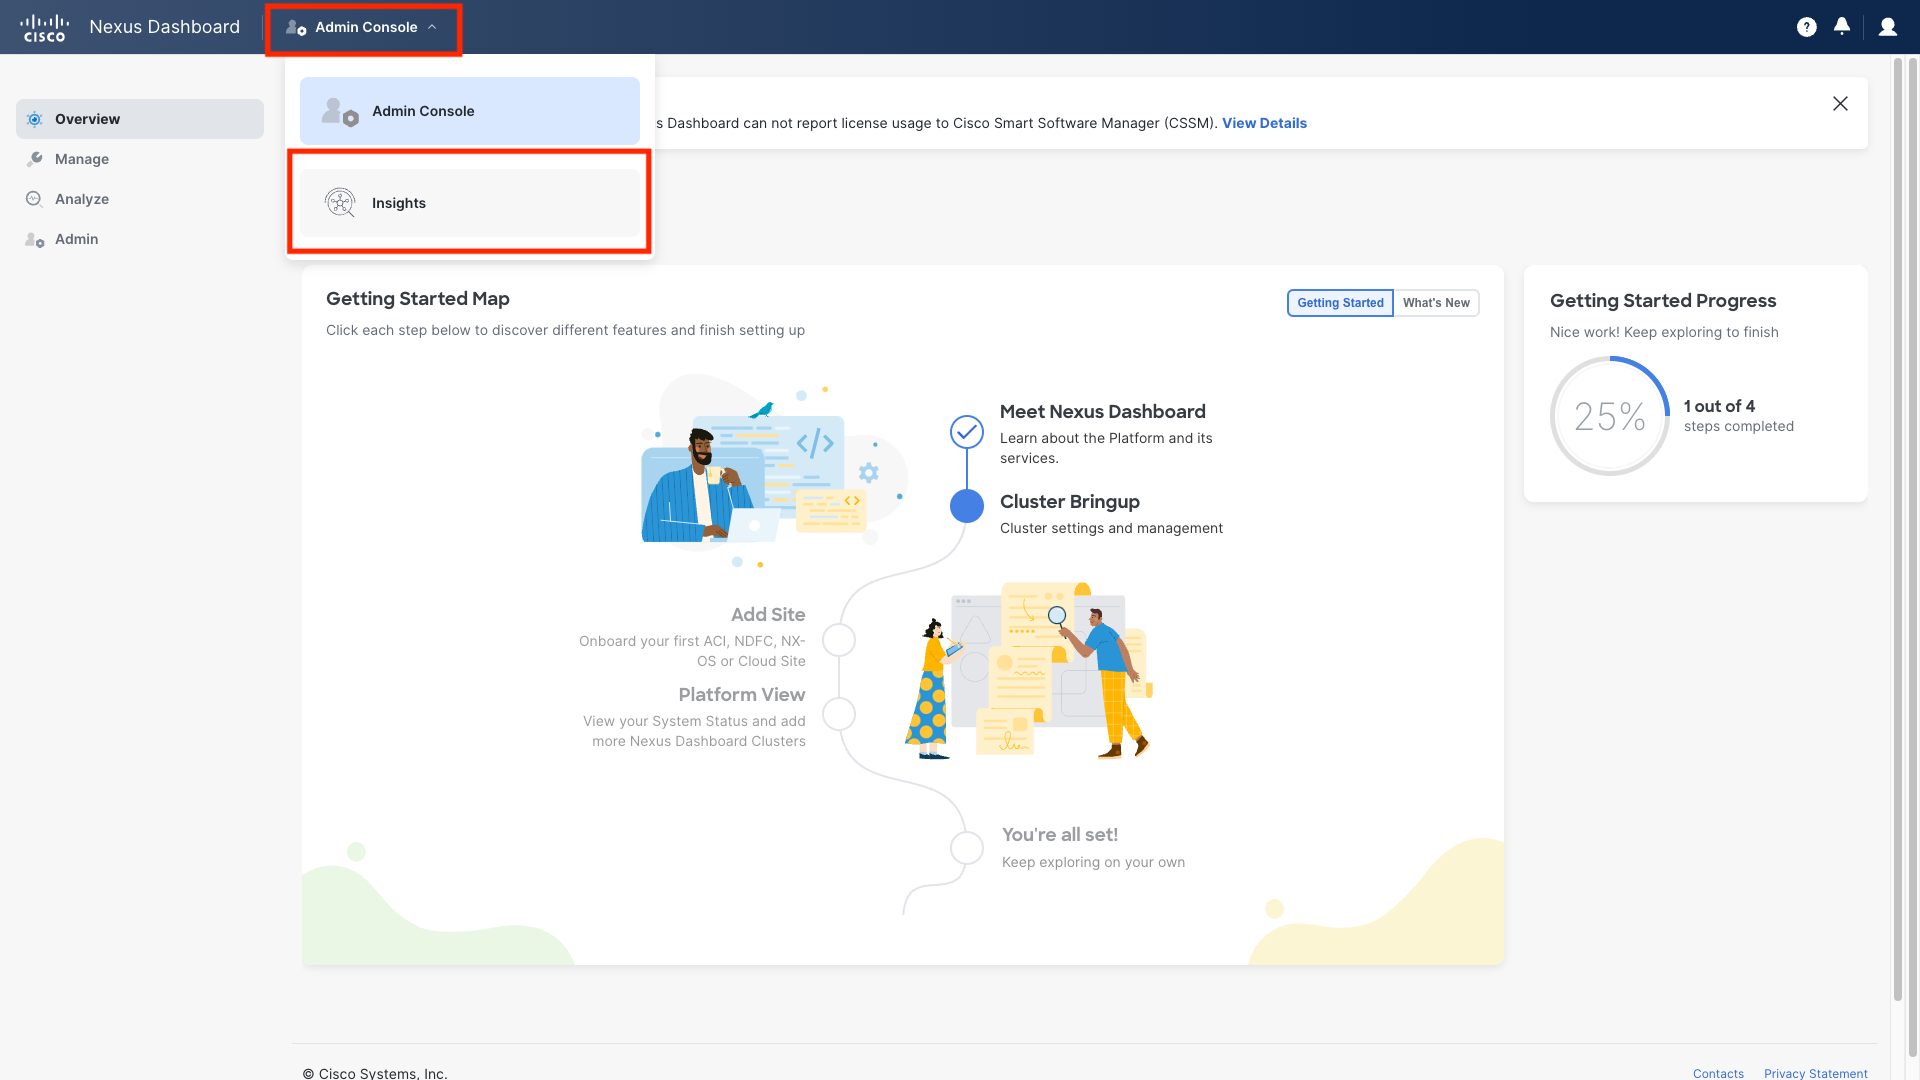
Step 5 - Access the Insights application
From the Admin Console pull-down menu at the top, select and click on Insights. This action will open the Insights app and display its user interface.
You have completed this section. Proceed to the next section using the left-hand navigation column labeled Fast Intro into the NI GUI.
How to connect to dCloud over VPN Optional:
Perform these steps only if your proctor requests them as an alternative connection method
Optional Access Method:
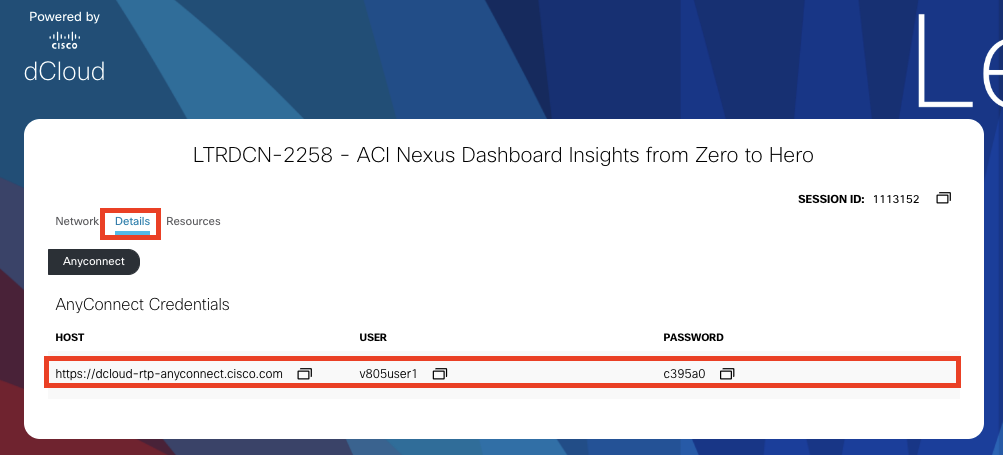
Step 1 - VPN Details
Upon opening your expo session, you will find the VPN details tab on the expo page.
Step 2 - Access the lab via VPN
Using your VPN details, connect directly to your lab with the Cisco Secure Client (formerly known as AnyConnect). If you opt for this method, utilize the native RDP client installed on your lab-provided workstation. This requires manually copying and pasting the IP and credentials into the RDP application.