How-To Guide for Pre-Change Analysis
How to Run Assurance Analysis
In the Pre-Change Analysis use case, you found that Pre-Change Analysis jobs were already created on your behalf. This was done because the Nexus Dashboard can only run a single Pre-Change Analysis at a time, and therefore, running all jobs for all participants simultaneously was not possible.
In this section, you will review how a Pre-Change Analysis is configured. You can follow the steps in the UI alongside this explanation and stop right before clicking Run.
Warning
Please do NOT perform below steps, so you do not impact other participants.
Steps to Trigger Pre-Change Analysis:
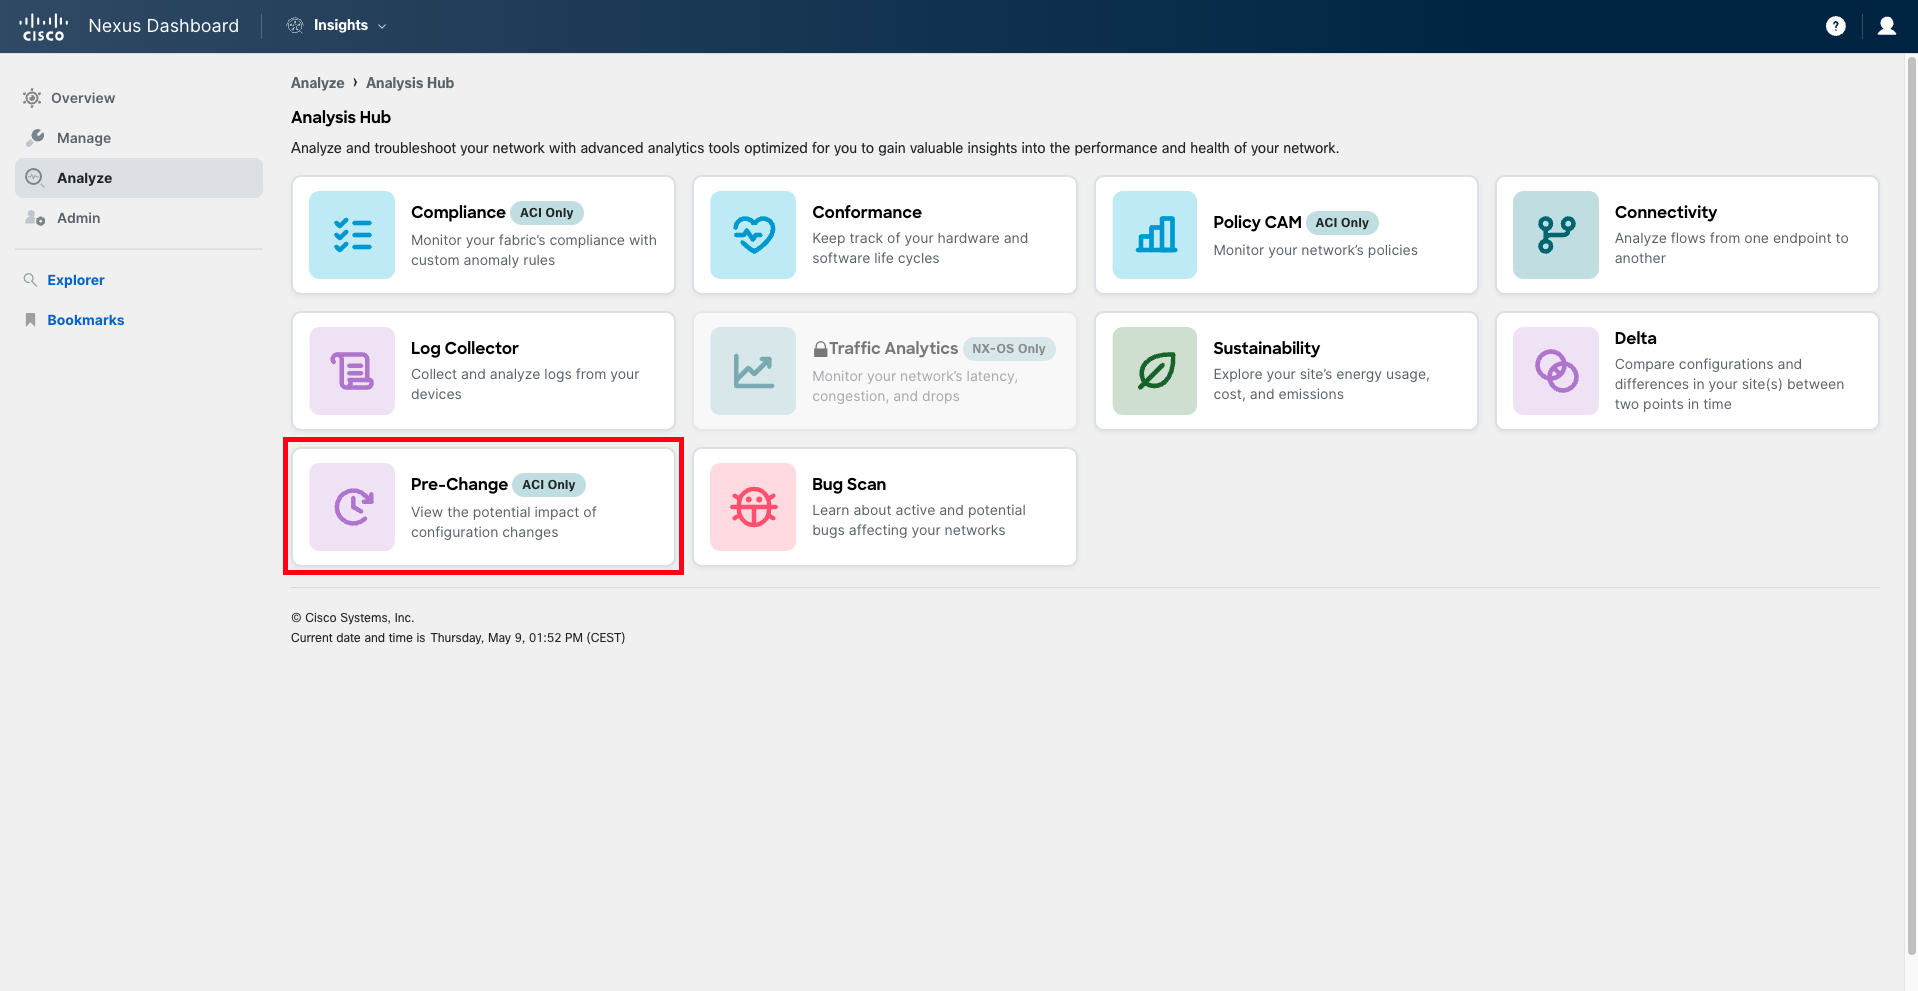
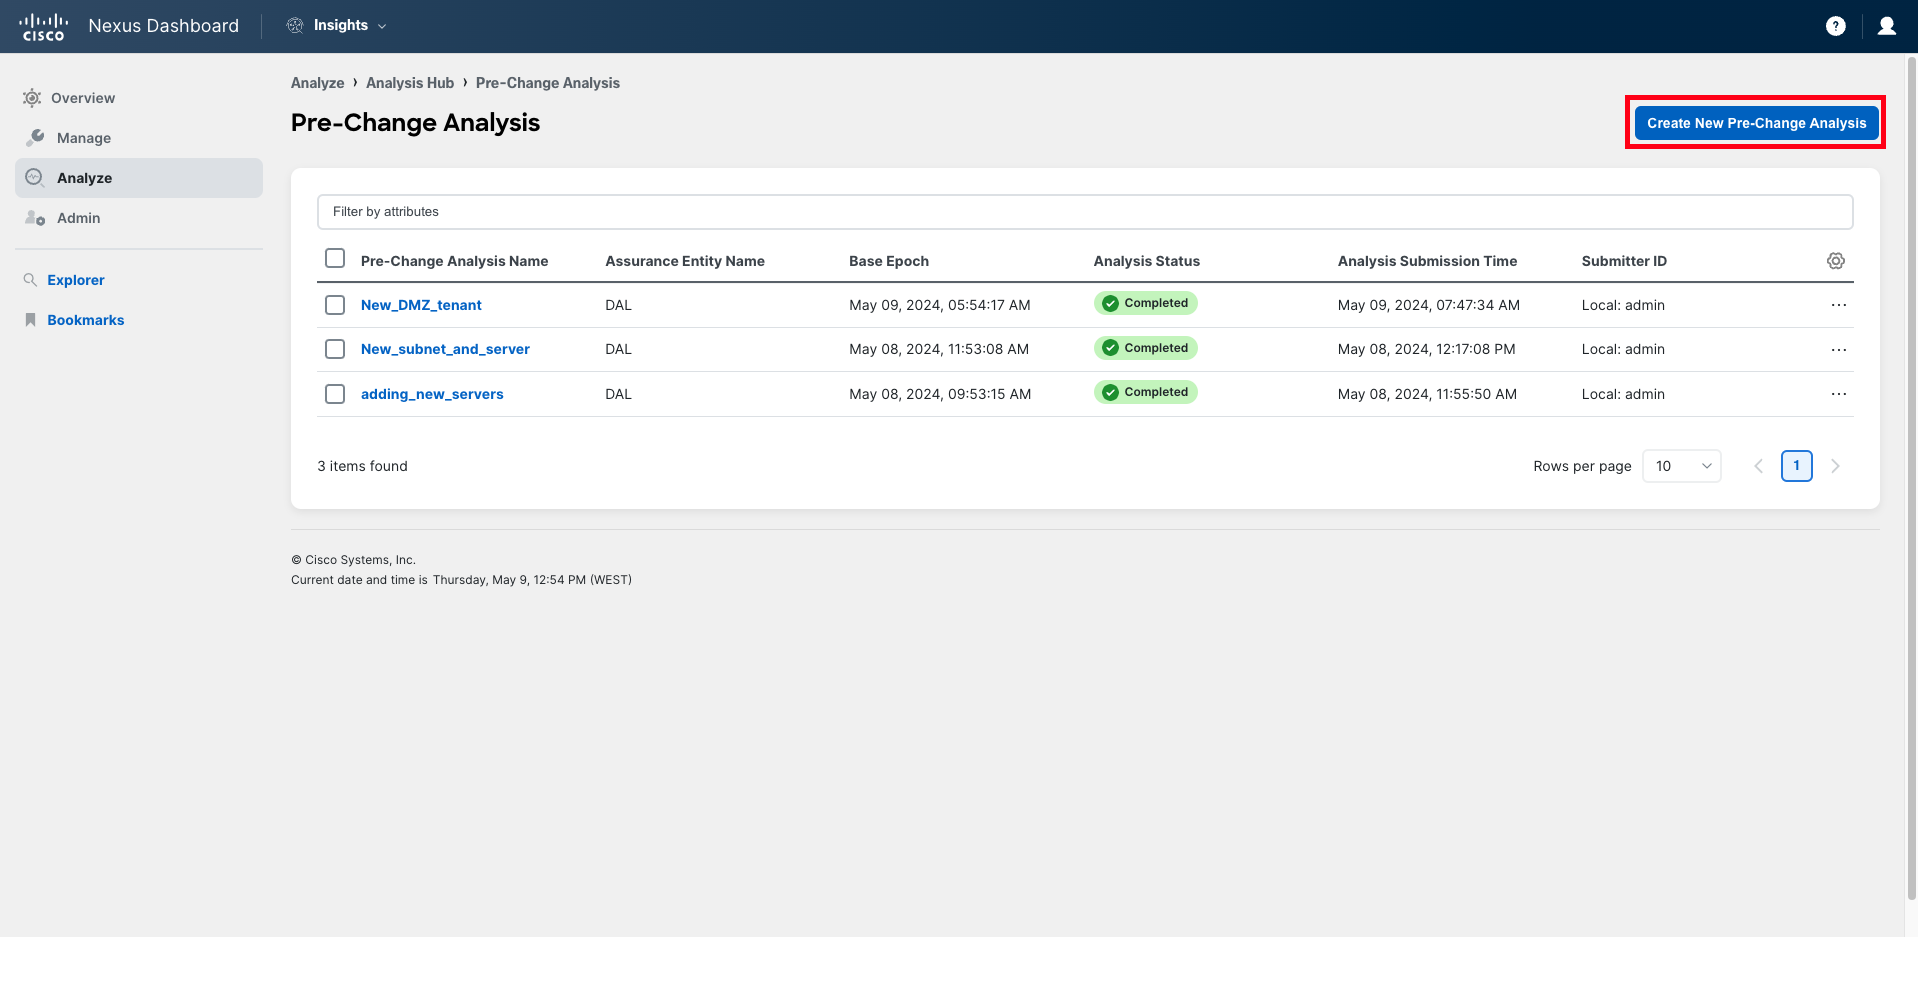
Start by navigating to Analyze > Analysis Hub > Pre-Change, and then click on the Create New Pre-Change Analysis button.
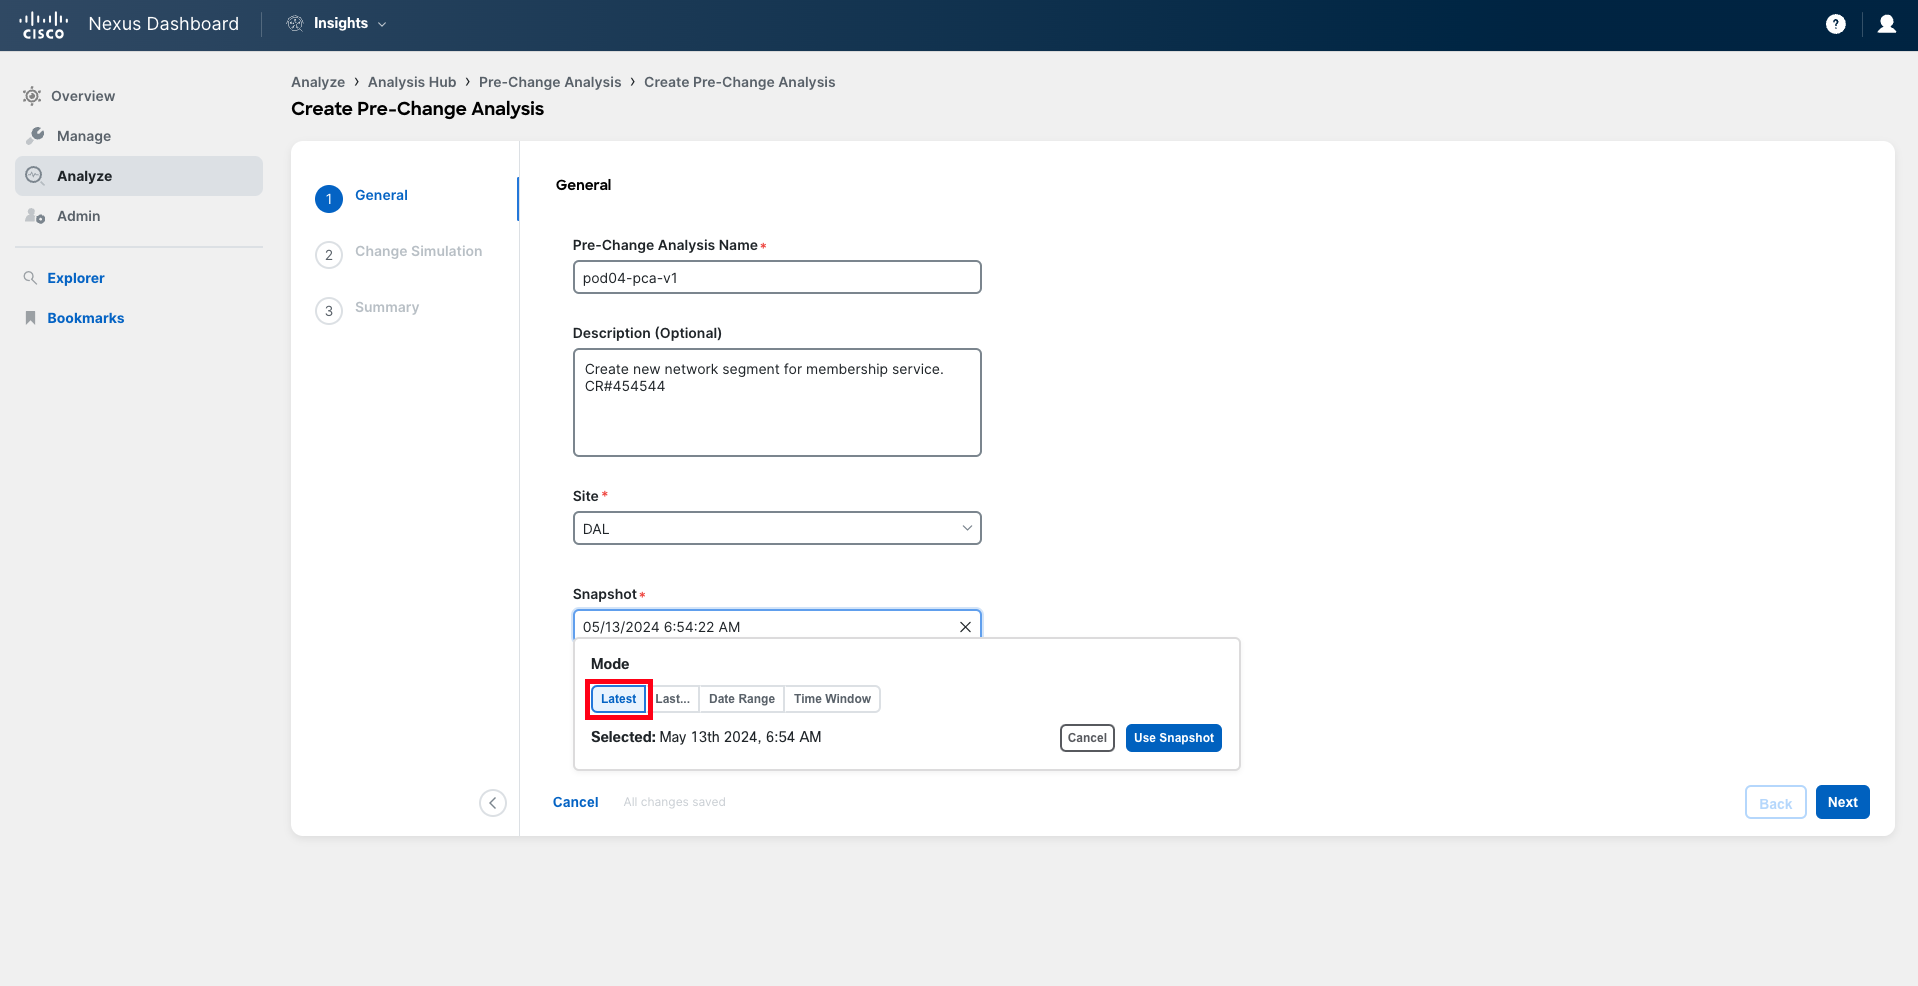
Provide a name for the Pre-Change Analysis job. Select your site and the latest snapshot. You should also provide a meaningful description. It is a good idea to include the Change Request ID in either the name or the description.
In the Change Simulation step, select Import JSON/XML File and choose the file you either prepared in advance or were given to you by your colleague. Then click Next.
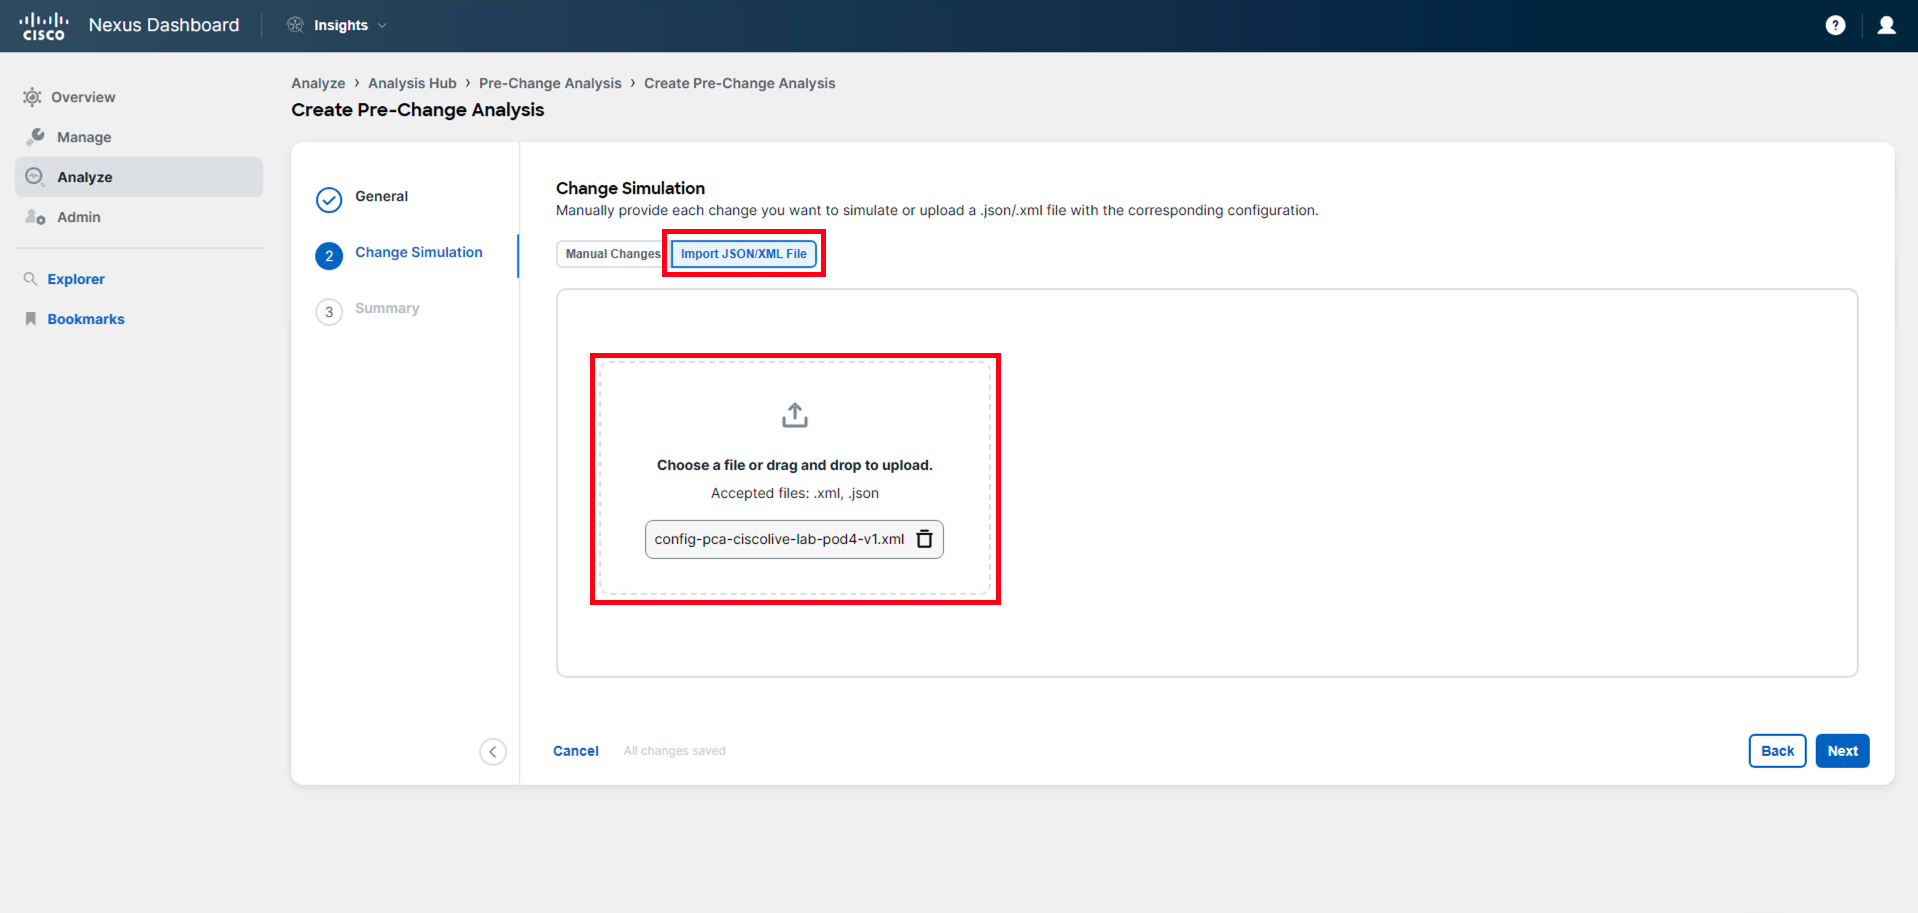
Note
Defining the changes to be made directly on the Nexus Dashboard interface is also possible by using the Manual Changes option.
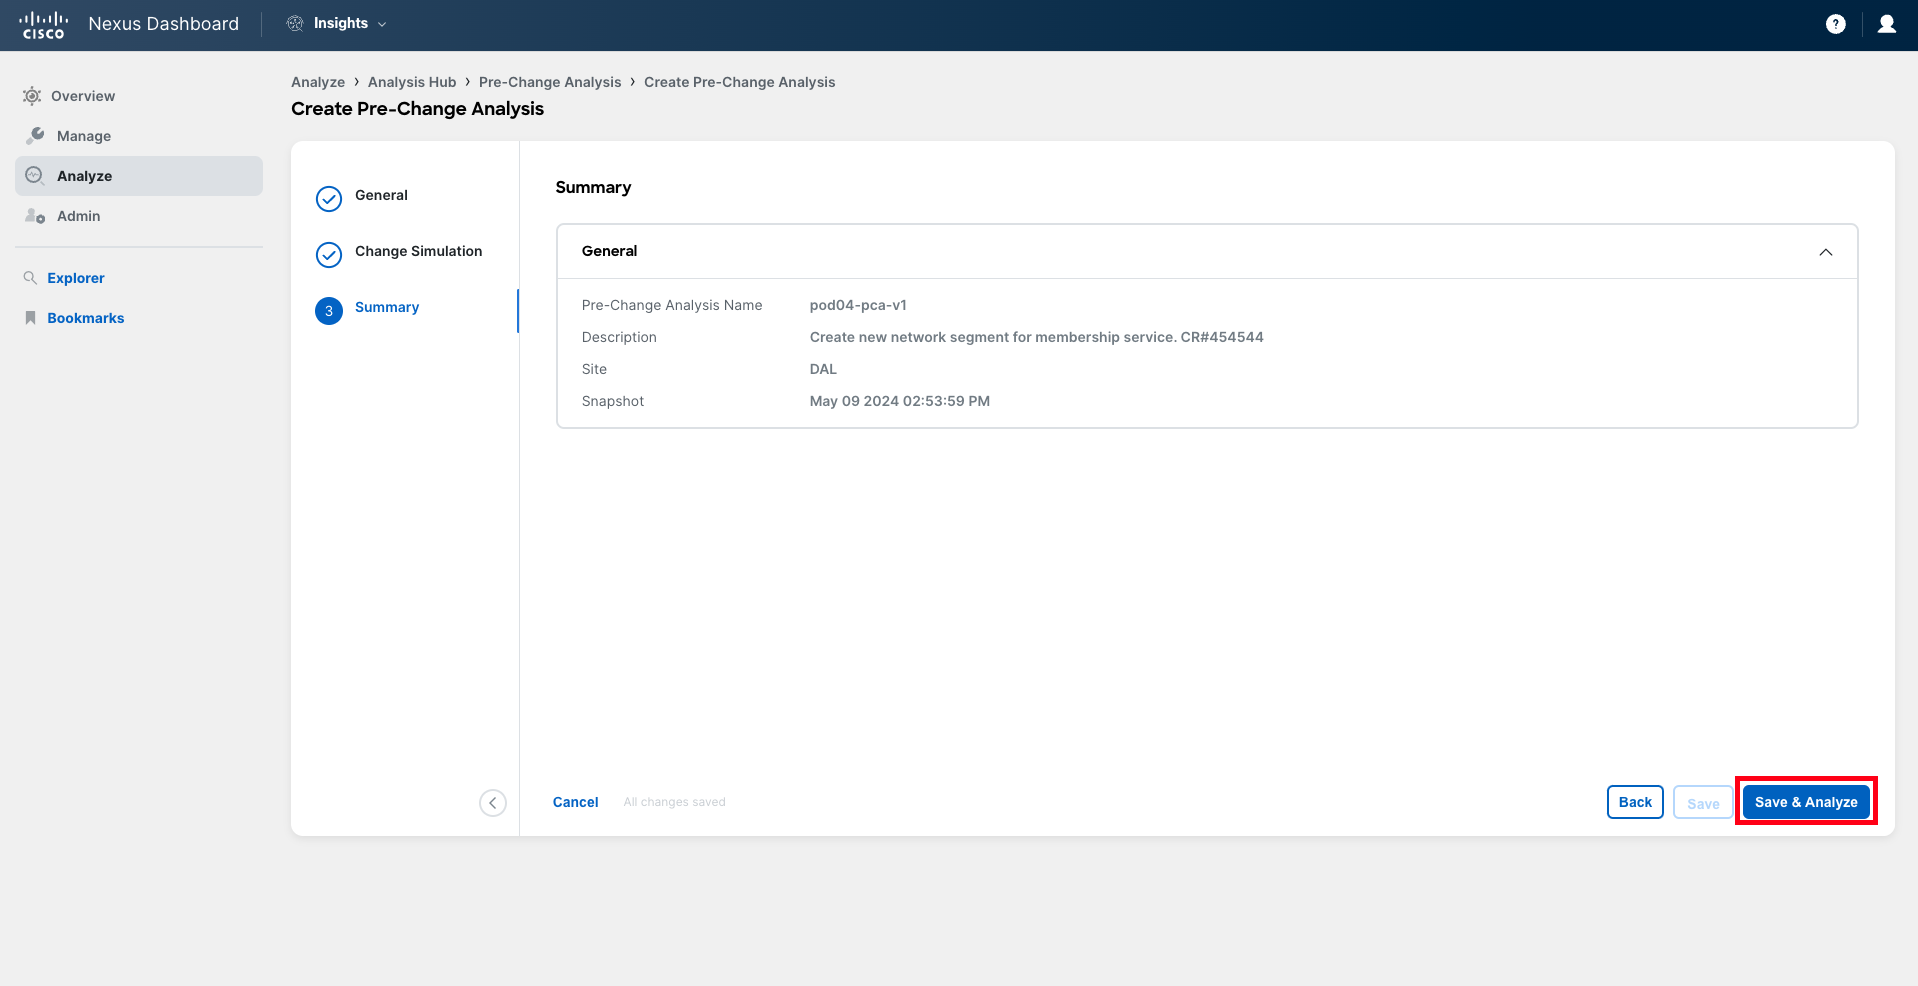
Review the Pre-Change Analysis configuration and click on Save & Analyze to start the analysis.
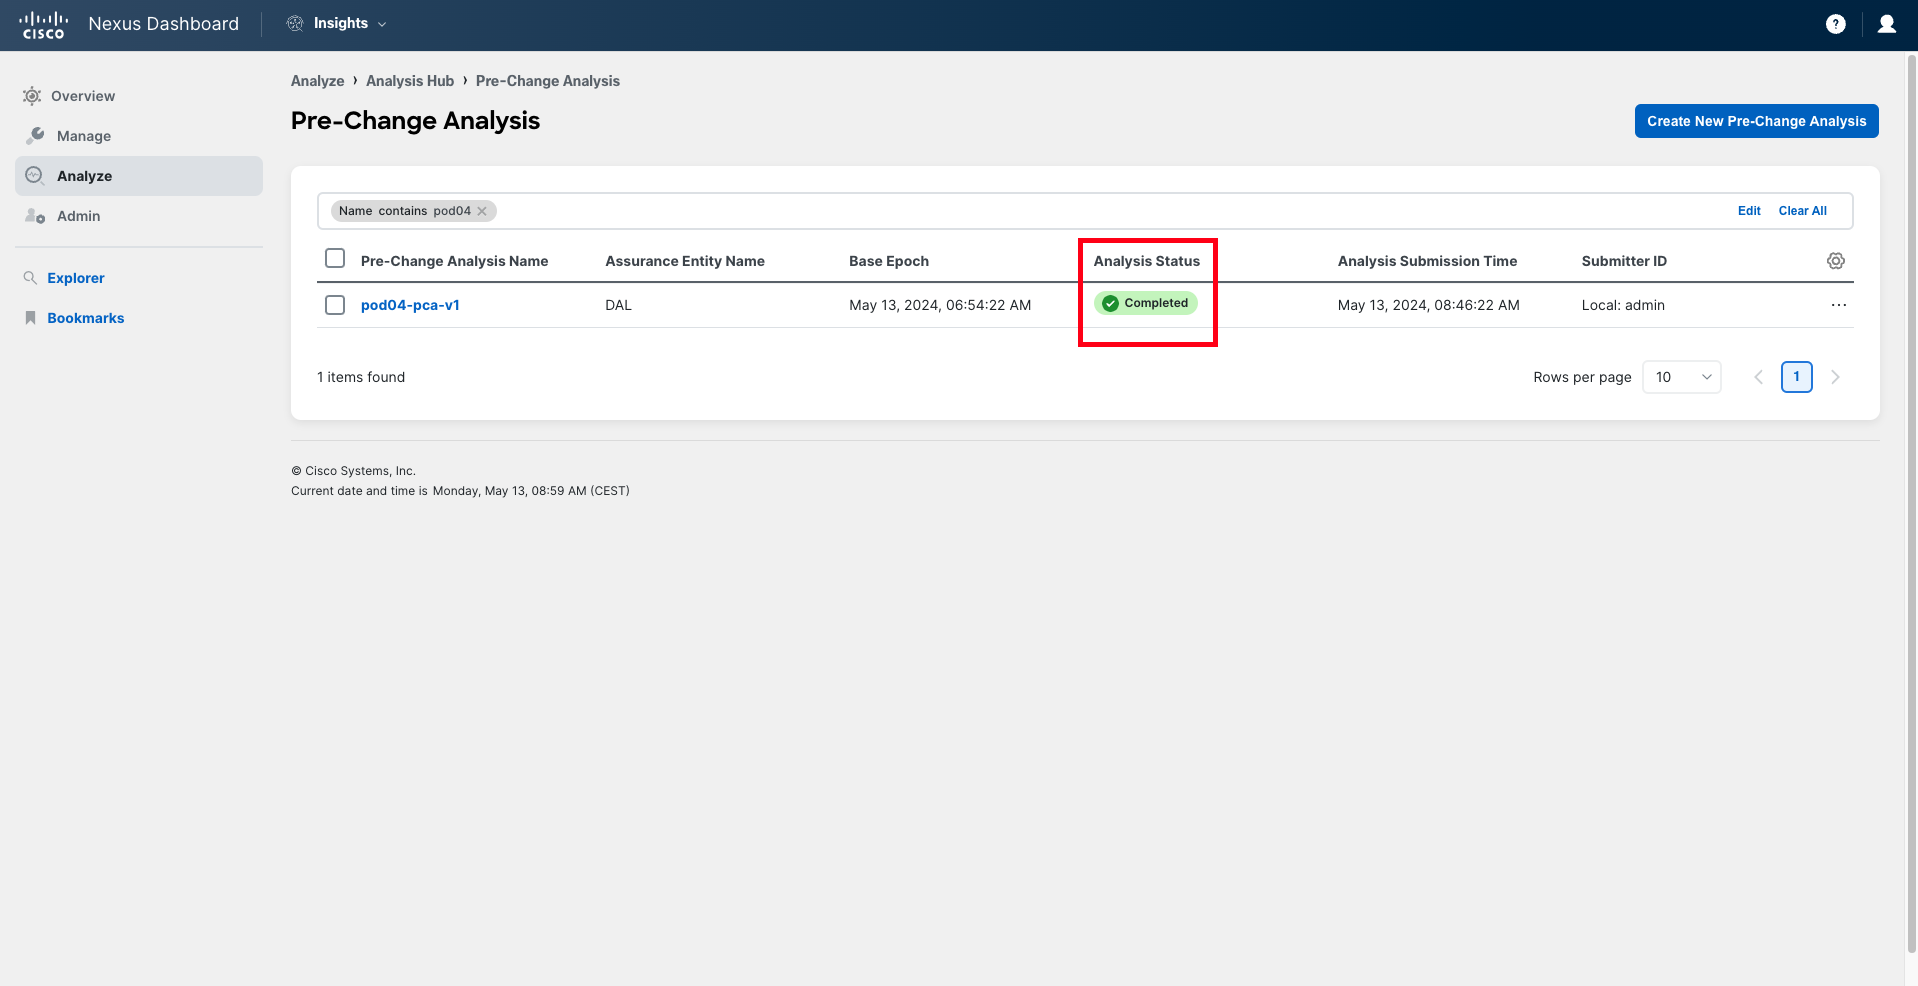
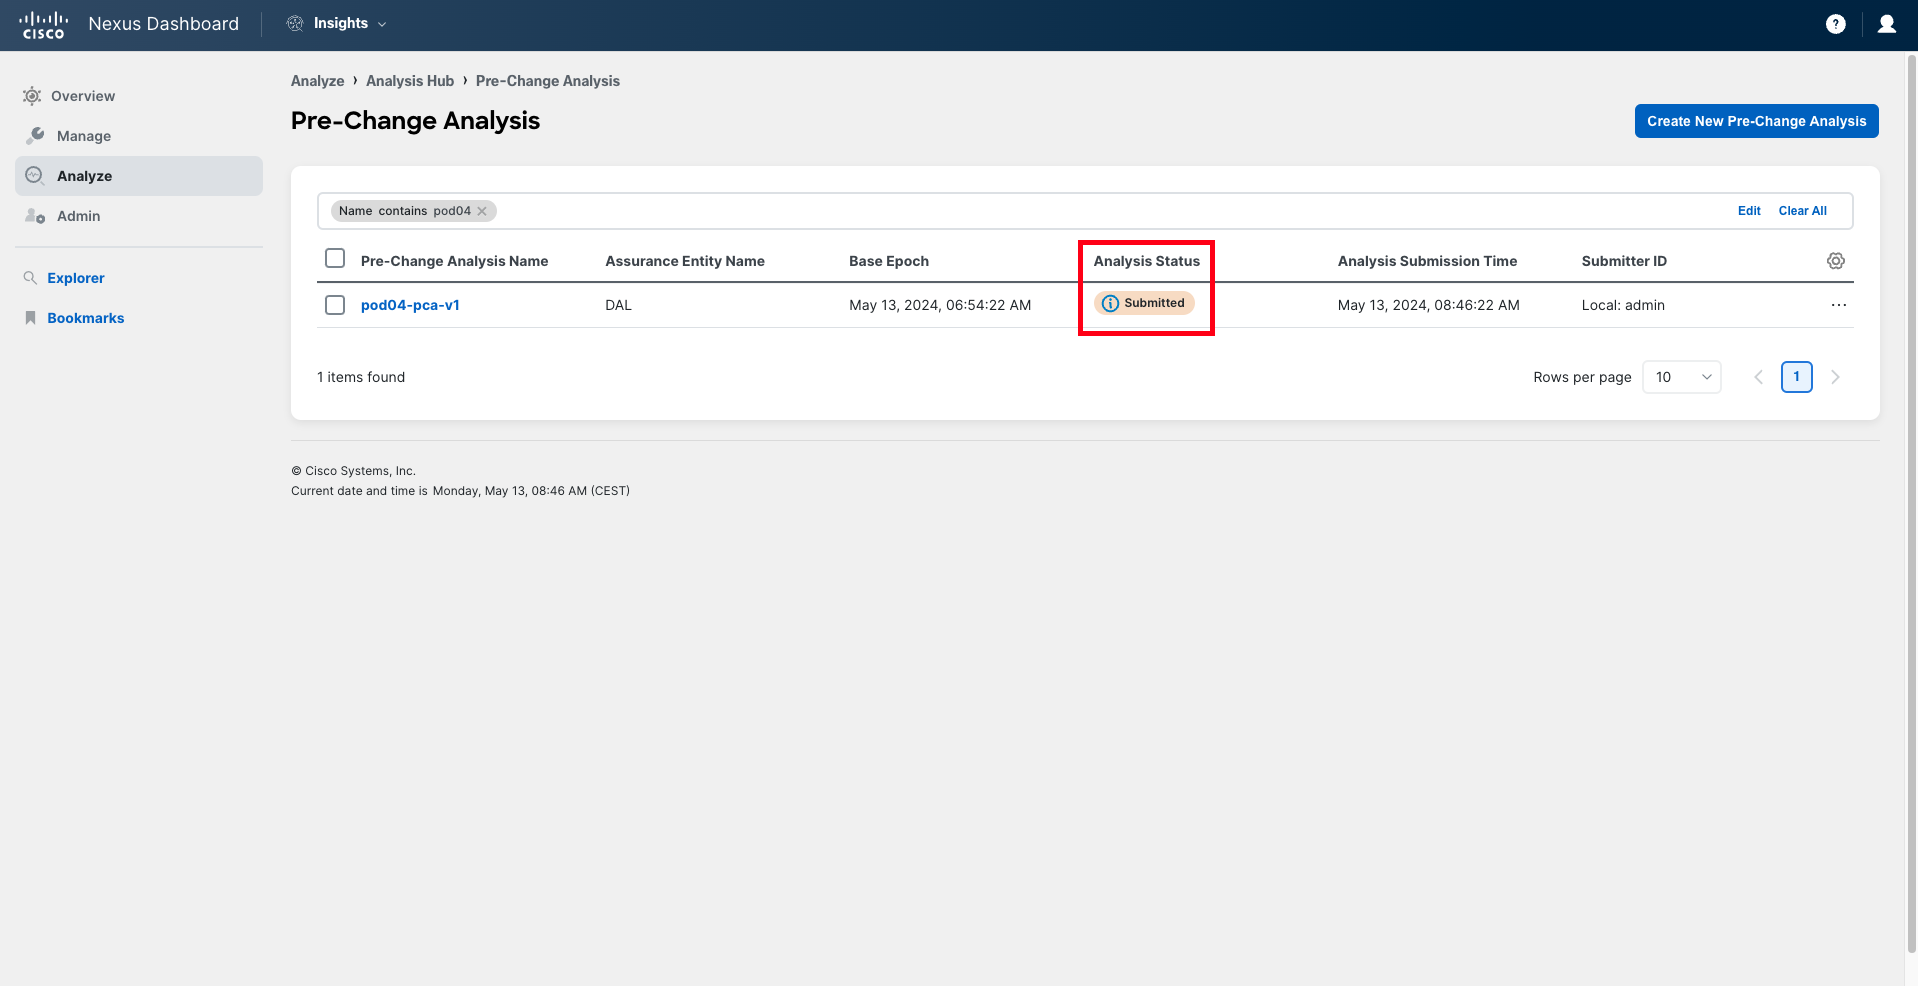
Now the analysis is submitted. Depending on the system load, it may start running immediately or be queued for some minutes. Once running, the analysis may take around 10-15 minutes to complete. This also depends on the configuration file size.
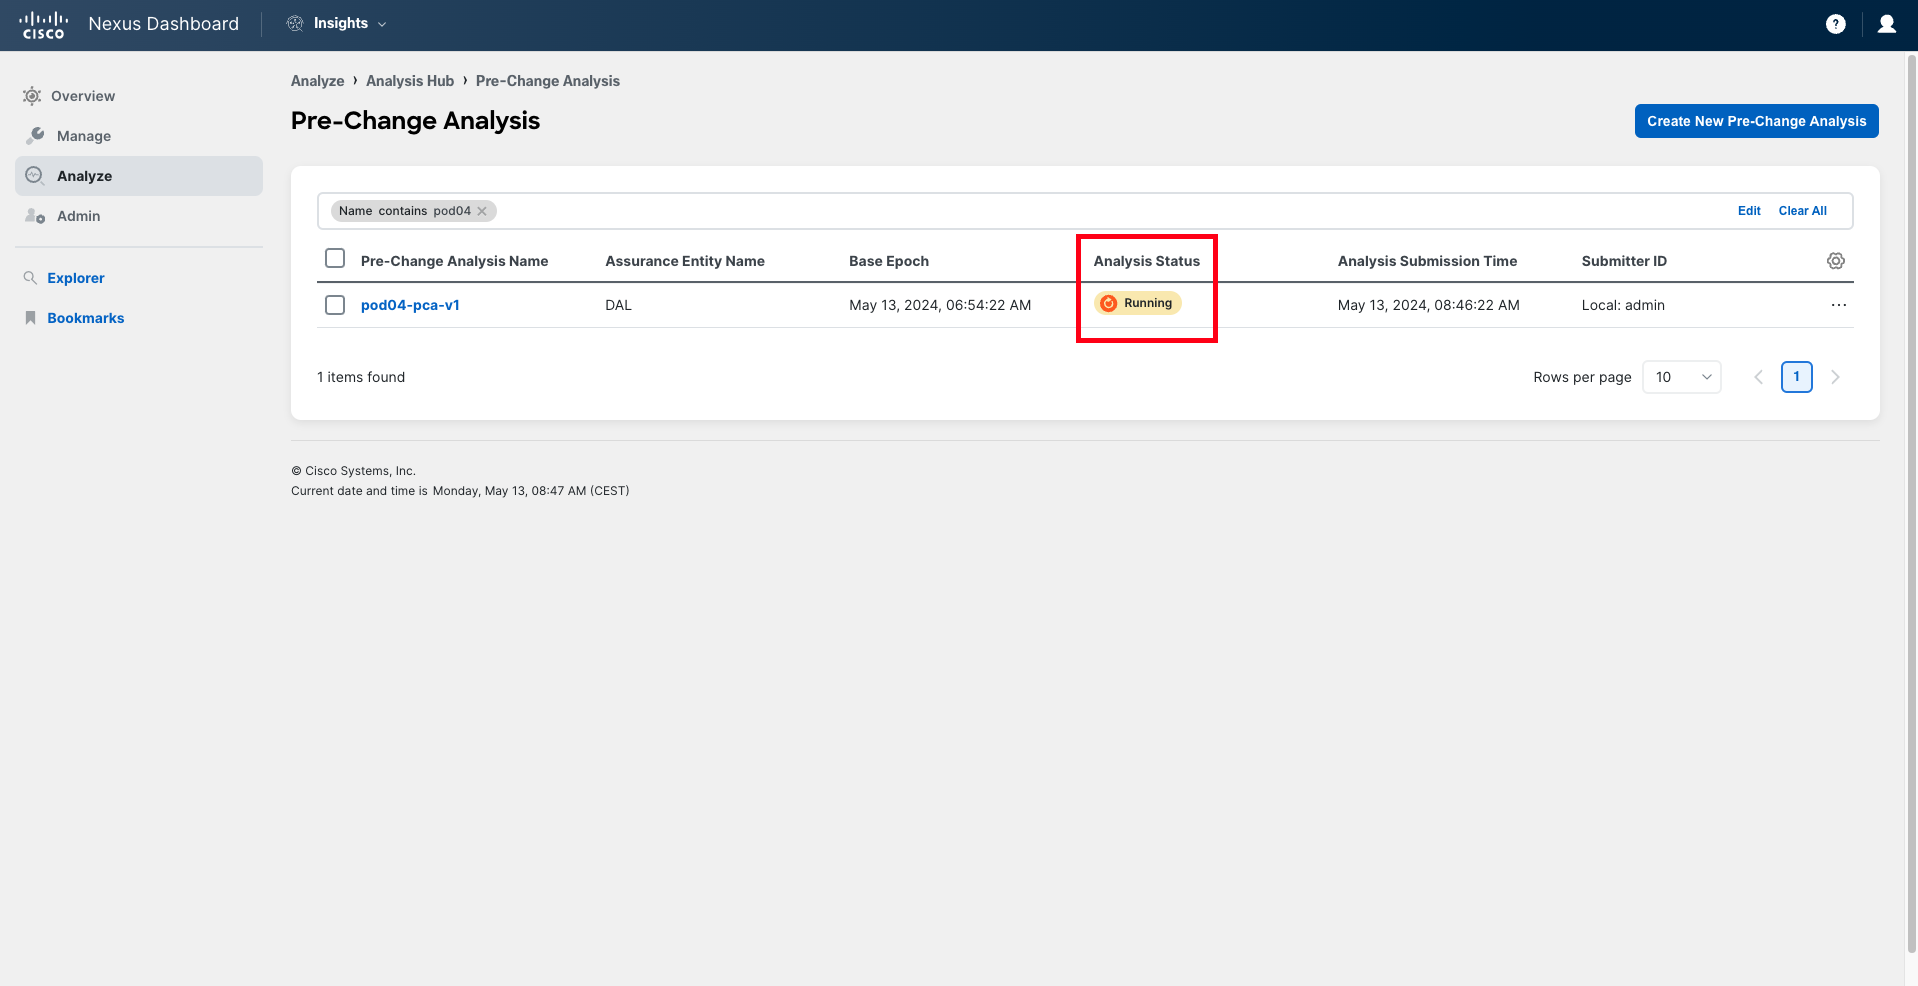
Once the analysis is completed, you can click on the name to open it and review it, as you have learned earlier.